Collecting Mangrove Oysters
Imagine strolling through a serene mangrove forest, the sounds of nature enveloping you, as you embark on a thrilling adventure to collect one of nature's prized treasures - oysters! Mangroves, with their intricate root systems and brackish waters, are home to an abundance of oysters, and collecting them can be a rewarding and sustainable activity for seafood lovers. In this step-by-step guide, we will explore how to responsibly and sustainably collect oysters in mangroves, ensuring that we preserve these delicate ecosystems while indulging in a delectable delicacy

Step 1: Choose the Right Time and Location
Oysters are typically found in mangroves in coastal areas with brackish or saltwater. Check the local regulations and make sure you have permission to collect oysters in the area you plan to visit. Choose a time when the tide is low, as oysters are usually exposed during low tide, making them easier to collect.
Step 2: Dress Appropriately
Wear appropriate clothing and footwear for the mangroves. Gumboots or waterproof boots are recommended as the mud in mangroves can be slippery and sticky. Long pants and sleeves can protect you from scratches and insect bites. Bring gloves to protect your hands from sharp oyster shells.
Step 3: Bring Necessary Tools
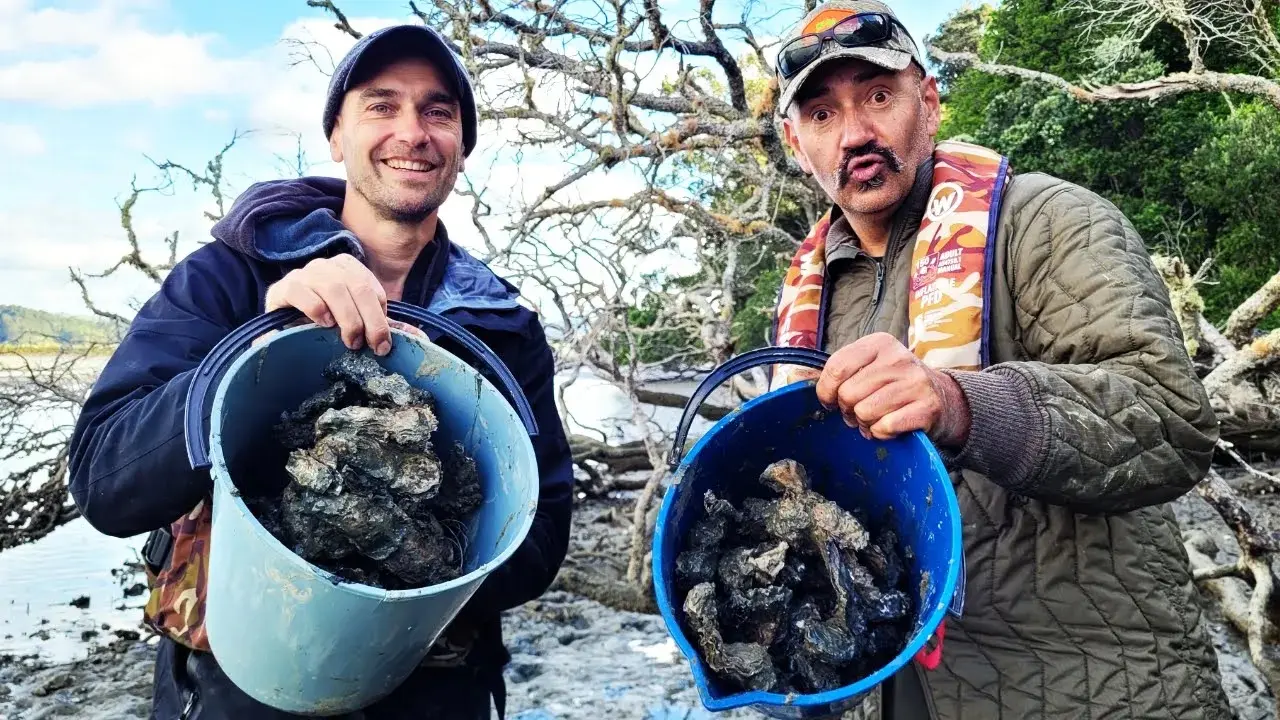
You will need some tools for collecting oysters. A mesh bag or a bucket can be used to collect the oysters. A knife or oyster shucker can be handy for opening the oysters. It's important to have a knife with a blunt tip to avoid accidents while opening the oysters.
Step 4: Look for Oyster Beds
Walk carefully in the mangroves, being mindful of the delicate ecosystem. Look for oyster beds, which are usually clusters of oysters attached to the mangrove roots. Oysters are filter feeders and they attach themselves to mangroves to feed on plankton in the water.
Step 5: Collect Oysters Sustainably
When collecting oysters, make sure to follow sustainable practices. Only collect oysters that are of legal size and leave the smaller ones behind to allow them to grow and reproduce. Avoid damaging the mangroves or other marine life while collecting oysters. Use a knife or oyster shucker to gently pry the oysters from the mangrove roots, being careful not to damage the shells.
Step 6: Clean and Store Oysters Properly
After collecting the oysters, clean them thoroughly by rinsing them with clean water. Discard any oysters that are damaged or have open shells. Place the oysters in a mesh bag or a bucket and store them in a cool, shaded place to keep them fresh until you are ready to consume them.
Step 7: Enjoy Your Oysters
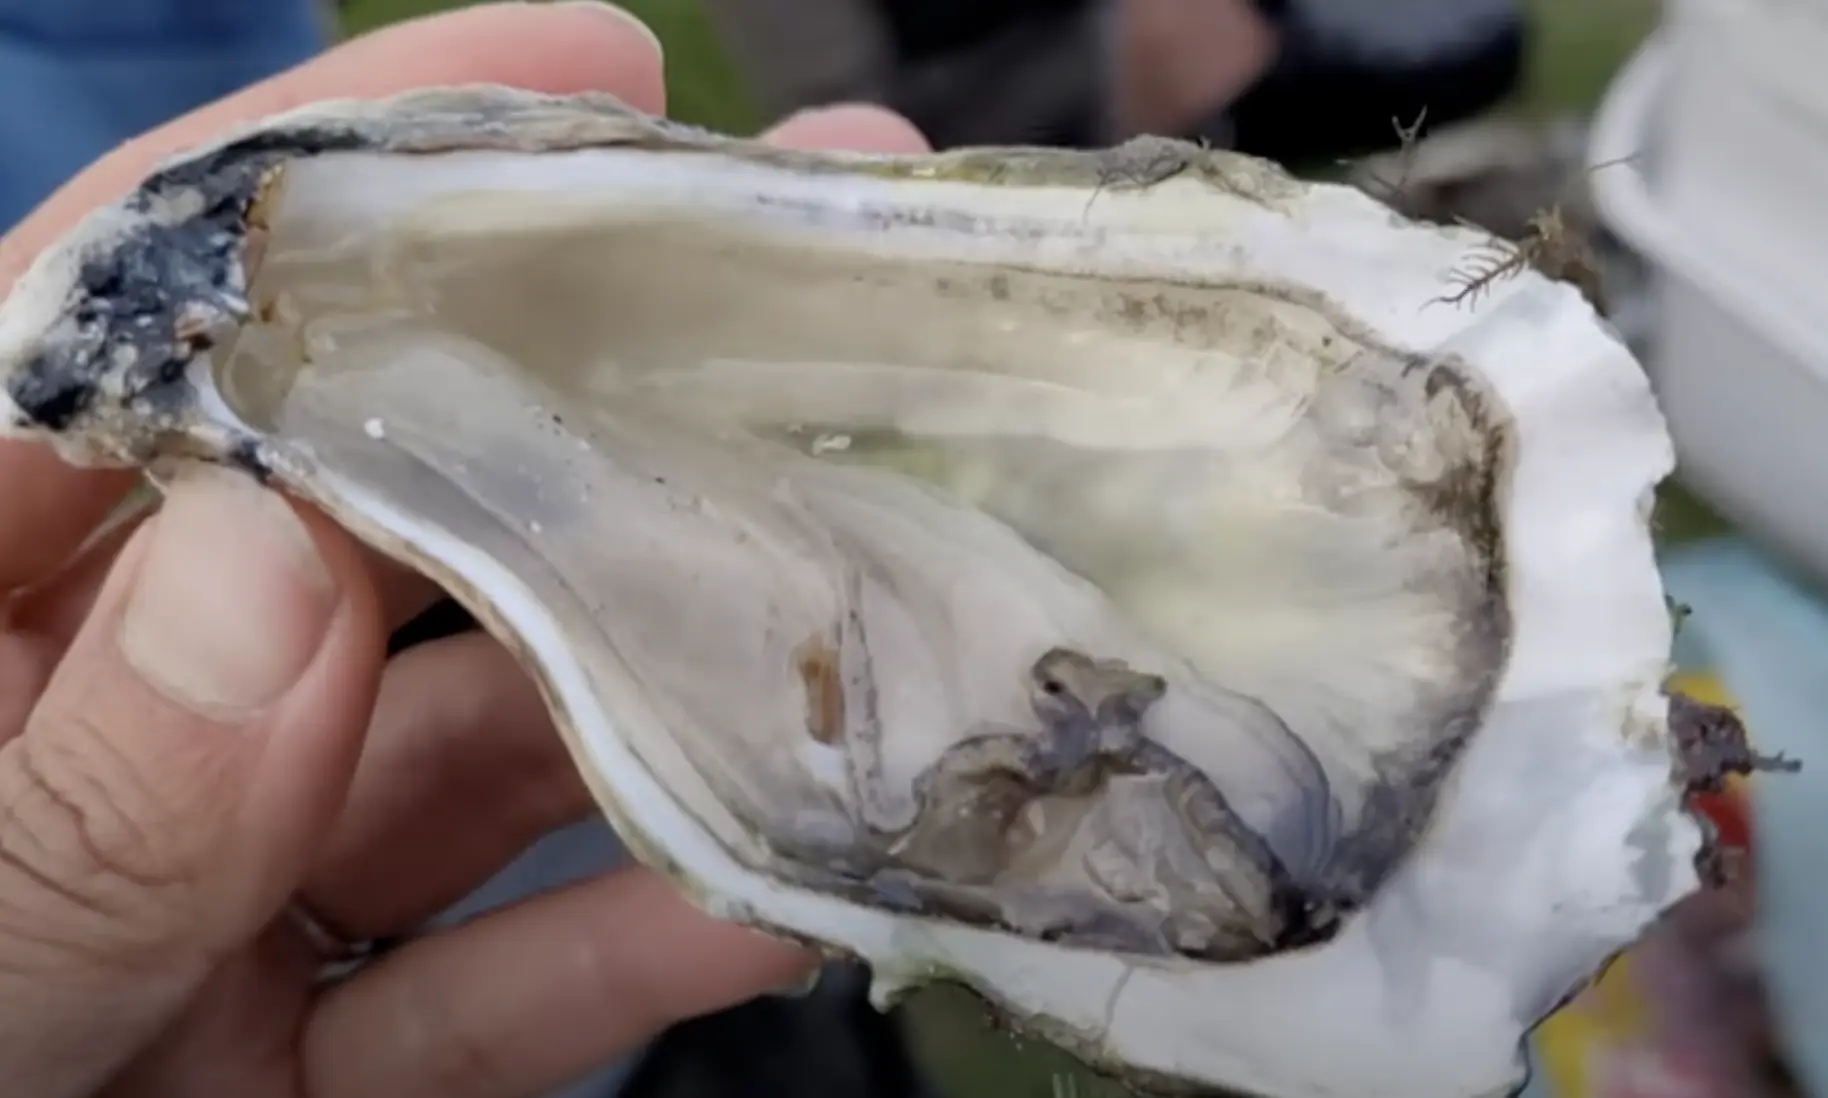
Once you are ready to enjoy your oysters, use a knife or oyster shucker to open the shells. Be careful not to cut yourself. Discard any oysters that are not fully closed or have an off smell. Savor the fresh, briny taste of the oysters and enjoy the fruits of your labor!
Step 8: Leave No Trace
When you're done collecting oysters, make sure to clean up after yourself and leave no trace. Respect the mangroves and the environment by taking your trash with you and not disturbing the ecosystem.
Watch our epic adventure of collecting Wild Oysters in the mangroves:
Remember, collecting oysters in mangroves should be done responsibly and sustainably to protect the fragile mangrove ecosystems and ensure the availability of oysters for future generations. Always check and follow local regulations and guidelines, and be respectful of the environment and other marine life. Happy oyster collecting!
If you're new to gathering Oysters then here is how you can remove those delicious morsels from their shells.
How To Shuck Oysters
To start, gather all the materials you'll need: fresh oysters, an oyster knife, a towel or cloth, and a sturdy surface like a cutting board or a folded towel.
Begin by cleaning the oysters thoroughly with cold water, using a brush or scrubbing pad to remove any dirt or debris. Once cleaned, place the oyster on a sturdy surface with the flat side facing up. Use a towel or cloth to hold the oyster securely, as the shells can be slippery.
Next, locate the hinge of the oyster, which is the point where the two shells are connected. Position the tip of the oyster knife at the hinge and apply moderate pressure to insert it. Gently twist the knife to pry the shells apart while maintaining steady pressure.
Once the knife is inserted, twist it slightly to pop the hinge and pry the top shell open. Slide the knife along the top shell to cut the muscle that attaches it to the bottom shell, keeping the knife flat against the top shell to avoid damaging the oyster.
Carefully lift off the top shell and set it aside, revealing the plump and juicy oyster inside. Take a moment to inspect the oyster for any debris or grit, and use the oyster knife or a clean brush to gently remove any unwanted particles, if necessary.
Your freshly shucked oyster is now ready to be served! You can enjoy it as is or add a squeeze of lemon, a dash of hot sauce, or your favorite accompaniments to enhance its flavor. Remember to always handle oysters safely, using a sturdy oyster knife and a towel or cloth to protect your hand from slips.
If you're new to shucking oysters, it's a good idea to practice on a few less-expensive oysters before attempting more expensive ones. Also, make sure to collect and consume oysters responsibly, following local regulations and guidelines to protect the environment and ensure sustainability.
Shucking oysters can be a fun and rewarding experience, allowing you to enjoy the deliciousness of freshly shucked oysters and connect with nature. With practice and proper safety precautions, you'll be able to master the art of shucking oysters and impress your friends and family with your culinary skills!
checkout this video to learn more about chucking oysters:
And Now: Happy Oyster Collecting Everyone!!

No comments yet. Be the first to comment!